Weather Radar Image Overlay
Insert your overlay image with 50% transparency.
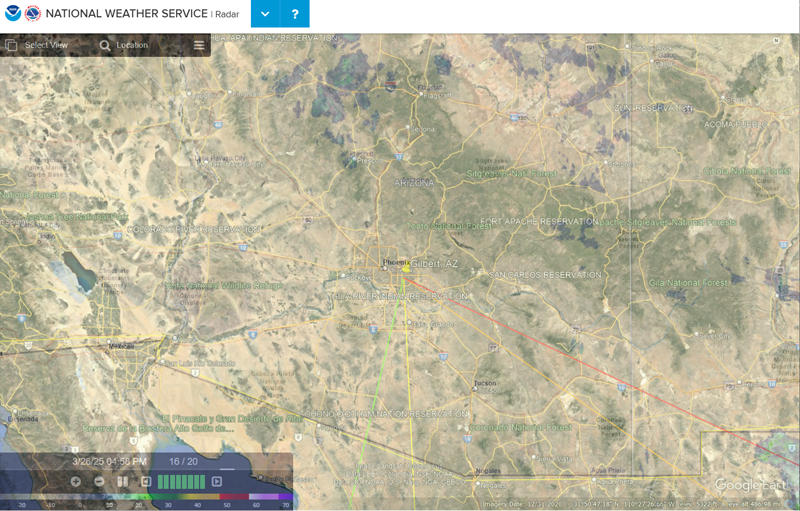
I was curious if I could make a semi-accurate way to see live weather radar with a translucent overlay of the paths to various satellites in geosynchronous orbit.
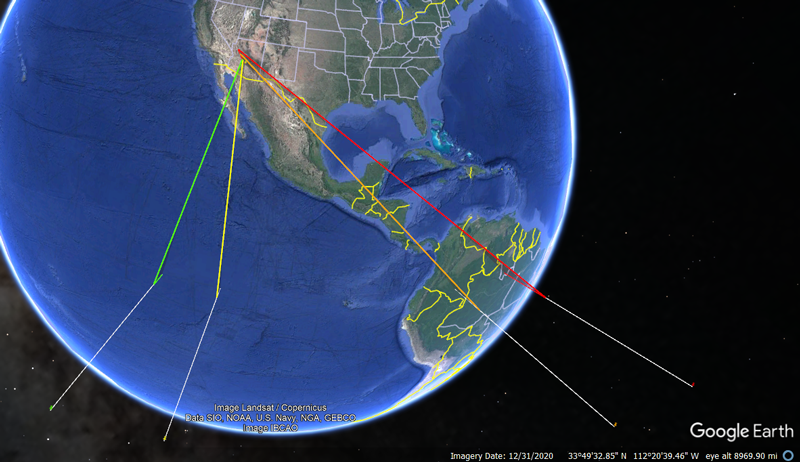
I used the desktop version of Google Earth Pro (free). I placed markers on the equator at various geosynchronous orbital slots and set the altitude to 1/10th the actual ~36,000 km (because the points would not render anymore).
How to Serve a Local Image and Inject a JavaScript Overlay in Chrome
This guide will show you how to serve a local image (from your Downloads folder) using Python’s built-in HTTP server and then use Chrome’s DevTools to overlay that image on the NWS radar page.
Step 1: Serve Your Local Image Using Python's HTTP Server
-
Open a Terminal/Command Prompt:
- Windows: Open Command Prompt or PowerShell.
- macOS/Linux: Open Terminal.
-
Navigate to Your Downloads Folder:
- macOS/Linux:
cd ~/Downloads - Windows:
cd %USERPROFILE%\Downloads
- macOS/Linux:
-
Start the HTTP Server:
Run the following command to serve files from the current folder on port 8000:
python -m http.server 8000
You should see a message similar to:
Serving HTTP on 0.0.0.0 port 8000 ...
Keep the Terminal Open:
Leave the terminal window open as long as you need the server running. (Your image will be accessible at http://localhost:8000/.)
Step 2: Inject the JavaScript Overlay on the Radar Page
-
Open Chrome and Go to the Radar Site:
Navigate to https://radar.weather.gov.
-
Open DevTools:
Right‑click anywhere on the page and select Inspect
orPress Ctrl+Shift+I (Windows/Linux) or Cmd+Option+I (macOS).
-
Switch to the Console Tab:
Click the Console tab in the DevTools window.
-
Paste the JavaScript Code:
Copy and paste the following code into the Console. (Make sure your image file, e.g., your_image.png, is in your Downloads folder so it can be accessed via http://localhost:8000/.)
const interval = setInterval(() => { // Update this selector with the correct element class, for https://radar.weather.gov '.ol-viewport' is correct. const map = document.querySelector('.ol-viewport'); if (!map) return; clearInterval(interval); map.style.position = 'relative'; const overlay = document.createElement('img'); overlay.src = 'http://localhost:8000/your_image.png'; Object.assign(overlay.style, { position: 'absolute', top: 0, left: 0, width: '100%', height: '100%', opacity: 0.5, pointerEvents: 'none', zIndex: 9999 }); map.appendChild(overlay); }, 250); -
Press Enter:
The code will check every 250 milliseconds until it finds the radar map container and then insert your overlay image with 50% transparency.
-
Verify the Overlay:
You should now see your image over the radar. (Remember: This change is temporary and will disappear if you refresh the page.)
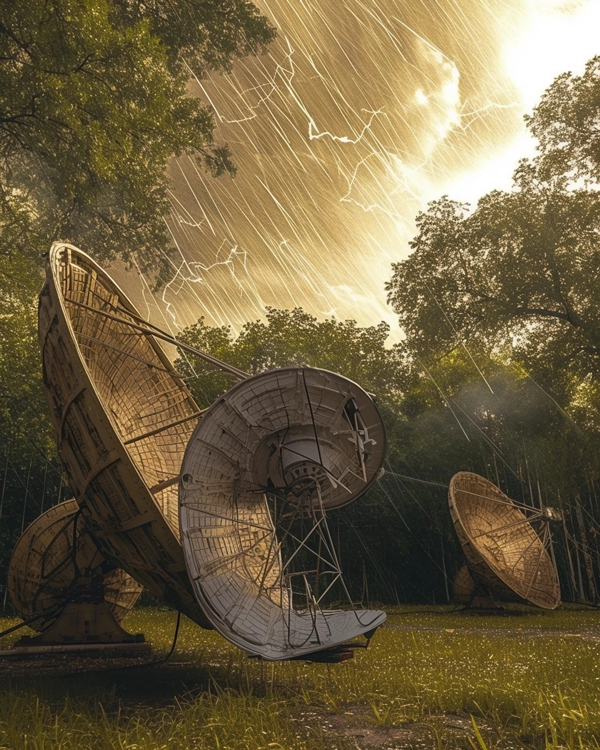
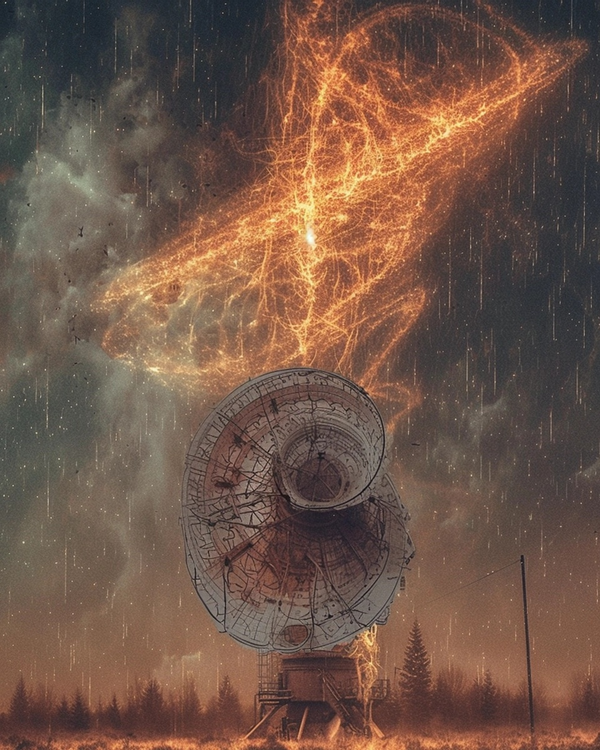
Doodle and Prompt by Chris Dahler, image edit by Midjourney v6.1 "Different energies interact with different materials differently! In the case of satellite television signals (DBS Ku-Band) would experience degraded radio signals where storm water vaper intercepts the line of sight between the ground antenna and the respective spacecraft."